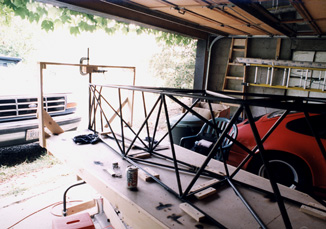
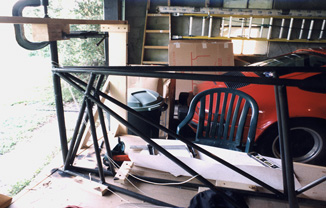
At first the problem of mounting the tail post seemed a little vexing. It need to be located on the centerline of the aircraft and held exactly level and plumb while the sides of the fuselage are bent in, fitted to it and welded. In other words, it needs to be held in mid-air! The fuselage truss was being held securely in place at the forward stations (before the fuselage break) by the fuse jig and an accurate centerline was drawn on the construction table table. At the exact point the tail post meets the top longeron (the fuse is upside down on the table) a precise 1" hole is drilled through the table. A rigid frame was then built around the end of the fuselage. A 4x4 clamping block was made by drilling a 1" hole through the block, and then band sawing a vertical slit through the edge into the hole. An extra long piece of tubing was cut, inserted the proper distance through the table and the surplus length through the clamping block. It's then a simple matter to level the tubing in 2 dimensions and secure the block to the framework immobilizing the tail post. Then the fuselage sides can be drawn in, and fit and formed around the new tail post. When done, cut off the extra length of tubing at the bottom. Be sure to follow the notes on the plans when locating tthe upper longerons to allow placement of the elevator bellcrank.